
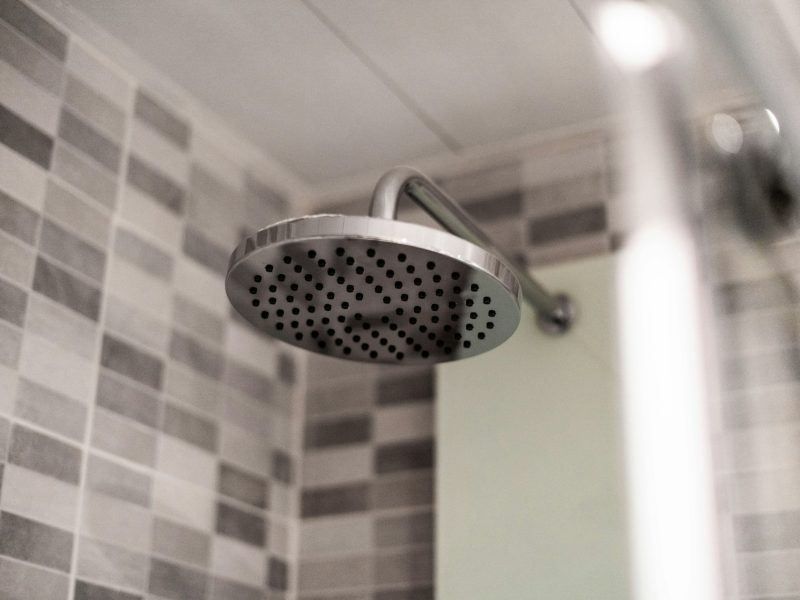
A new shower head can instantly improve your bathroom experience—better water pressure, reduced water use, and a refreshed look. The best part? Replacing one only takes 10 minutes. This quick guide will walk you through everything you need to know to get it done like a pro.
Why Replace Your Shower Head?
Over time, shower heads accumulate mineral deposits that clog nozzles, reducing water pressure and efficiency. A new model can restore performance, improve aesthetics, and even help you save water. Some modern designs offer multiple spray settings or eco-friendly features for a better showering experience.
Tools You’ll Need
Before you start, gather these essentials:
- Adjustable wrench or pliers
- Teflon tape (plumber’s tape)
- Soft cloth or towel
- New shower head
Optional: an old toothbrush or vinegar for cleaning any mineral build-up.
Step-by-Step: How to Replace a Shower Head
Step 1: Turn Off the Water
While you don’t need to shut off your home’s main water supply, it’s best to make sure the shower is off and the handle is in the closed position to prevent leaks while working.
Step 2: Remove the Old Shower Head
Wrap a soft cloth around the connection to avoid scratching, then use a wrench or pliers to unscrew the old head counterclockwise. If it’s stuck, apply gentle pressure—forcing it may damage the pipe.
Step 3: Clean the Shower Arm
Once removed, wipe the shower arm threads clean. If there’s mineral build-up, use vinegar and an old toothbrush to scrub it off. This helps ensure a tight, leak-free fit for the new shower head.
Step 4: Apply Teflon Tape
Wrap plumber’s tape around the threads of the shower arm two to three times in a clockwise direction. This helps create a watertight seal.
Step 5: Install the New Shower Head
Screw the new shower head onto the shower arm by hand, turning it clockwise. Once it’s snug, use the wrench to tighten it slightly—but don’t overdo it. Over-tightening can crack the fitting.
Step 6: Check for Leaks
Turn the water back on and test your new shower head. If you notice dripping from the connection, gently tighten it again. Add more Teflon tape if needed to ensure a perfect seal.
Choosing the Right Shower Head
Selecting the ideal shower head depends on your water pressure, preferences, and bathroom style. Here are some popular types:
- Fixed Shower Heads: Simple and reliable, perfect for everyday use.
- Handheld Shower Heads: Great for versatility and cleaning.
- Rainfall Shower Heads: Provide a luxurious spa-like experience.
- Low-Flow Shower Heads: Save water without sacrificing pressure.
If you live in BC, consider a water-efficient model that complies with local water conservation guidelines.
Benefits of Upgrading Your Shower Head
- Better Water Pressure: Newer models improve water flow and distribution.
- Water Savings: Low-flow designs reduce water use by up to 40%.
- Improved Aesthetics: A sleek, modern shower head instantly updates your bathroom.
- Easier Cleaning: New designs resist mineral build-up and are easier to maintain.
Maintenance Tips
- Clean your shower head monthly by soaking it in vinegar for 30 minutes to remove limescale.
- Wipe down the surface regularly to prevent soap scum.
- Check for leaks occasionally and replace washers as needed.
When to Call a Professional
If you encounter corrosion, water pressure problems, or leaks inside the wall, it’s best to call a professional plumber. They can inspect your system and prevent costly damage.
Final Thoughts
Learning how to replace a shower head in 10 minutes is an easy, cost-effective way to refresh your bathroom and improve water efficiency. With just a few tools and simple steps, you can enjoy a better shower experience today.
For more plumbing tips or expert help, contact Home Services BC—your trusted partner for professional plumbing, maintenance, and home improvement solutions.
FAQ
Do I need plumber’s tape when replacing a shower head?
Yes, plumber’s tape prevents leaks by creating a tight seal on the threads.
Can I replace a shower head without tools?
Some models are hand-tightened, but using a wrench ensures a more secure fit.
How often should I replace my shower head?
Typically every 6–8 years, or sooner if you notice reduced water pressure or mineral build-up.
Are low-flow shower heads worth it?
Absolutely. They save water and money while maintaining strong pressure.
What if my shower head leaks after installation?
Reapply Teflon tape and tighten it gently. If it still leaks, inspect for cracks or worn threads.
Home Services BC is here to make plumbing and home maintenance simple, efficient, and affordable.